If you have visited our classroom, then you have probably noticed the amazing trees that surround us. Division 8 has adopted one of these trees as "Our Class Tree". It is the big, beautiful maple which stands between our modular and the playground. Each month, we will go outside as a class and observe the changes that our class tree is going through. As scientists, this will help us understand the changes of the seasons and their effects on plants. We will study the bark, the branches, the sap and, of course, the leaves.
This week we studied our class tree for the first time. We got up close and admired the stripey bark, the big hole in the trunk and the patches of moss. We found roots that are peaking up from the soil which we could even stand on, as if they were branches. We had to stand really far back in order to see the top of the tree. We noticed that some of the branches were shaped like the letter Y. The green, yellow, orange and brown leaves dripped water on our heads and in our eyes!
We went back into the classroom and immediately started drawing a realistic picture of our tree. Here are a few examples:
Did you know that fire needs air, just like we do? This is how we found this out...
Equipment:
- 3 tea light candles
- 3 different sized jars
- an adult to use the lighter or matches
We put 3 tea light candles on the table and Mrs. Grant lit each one. We discussed what was in the jars. Many of us said "Nothing!" but some students knew that AIR was in the jars.
We each made a hypothesis about what would happen if we covered the lit candles with the jars. Some of our ideas included:
- the jars will burn
- the table will catch on fire
- there will be a smoke bomb
- it will explode (of course!)
Mrs. Grant carefully put the jars upside down over the lit candles. We watched and waited to see what would happen.
The smallest jar didn't have much air inside of it. We managed to get a photo of the candle flame before it went out.
In this photo, the two smaller jars are filled with smoke because their candles went out and the smoke was trapped inside the jars.
The large jar still has a flame. It is hard to see but there is a brightness of the flame.
The large jar lasted the longest because it had more air inside it.
So the scientists of division 8 know that fire needs air. If a fire runs out of air, it will go out.
I am Mrs. Grant - but please call me Martha - and I will be replacing Ms. Croonen while she fulfills her vice-principalship duties at Valley View Elementary. It is expected that she will return to your child's class in the new year, perhaps in February. Until then, Mr. Phillips and I will be working in tandem to provide your child with a fabulous Kindergarten experience.
I hope to keep up this blog up and running although you will soon see that my style is a little different. I hope to post classroom news once a week and include a few photos of our activities. I will also keep you up-to-date about some of the whole-school activities that you will also read about in the monthly school newsletter.
If you have anyquestions or concerns, please come and see me or Mr. Phillips. No issue is too small and no suggestion will be passed over. If it concerns your child, then it is important to us.
I look forward to getting to know each of you. Please come and say hi!
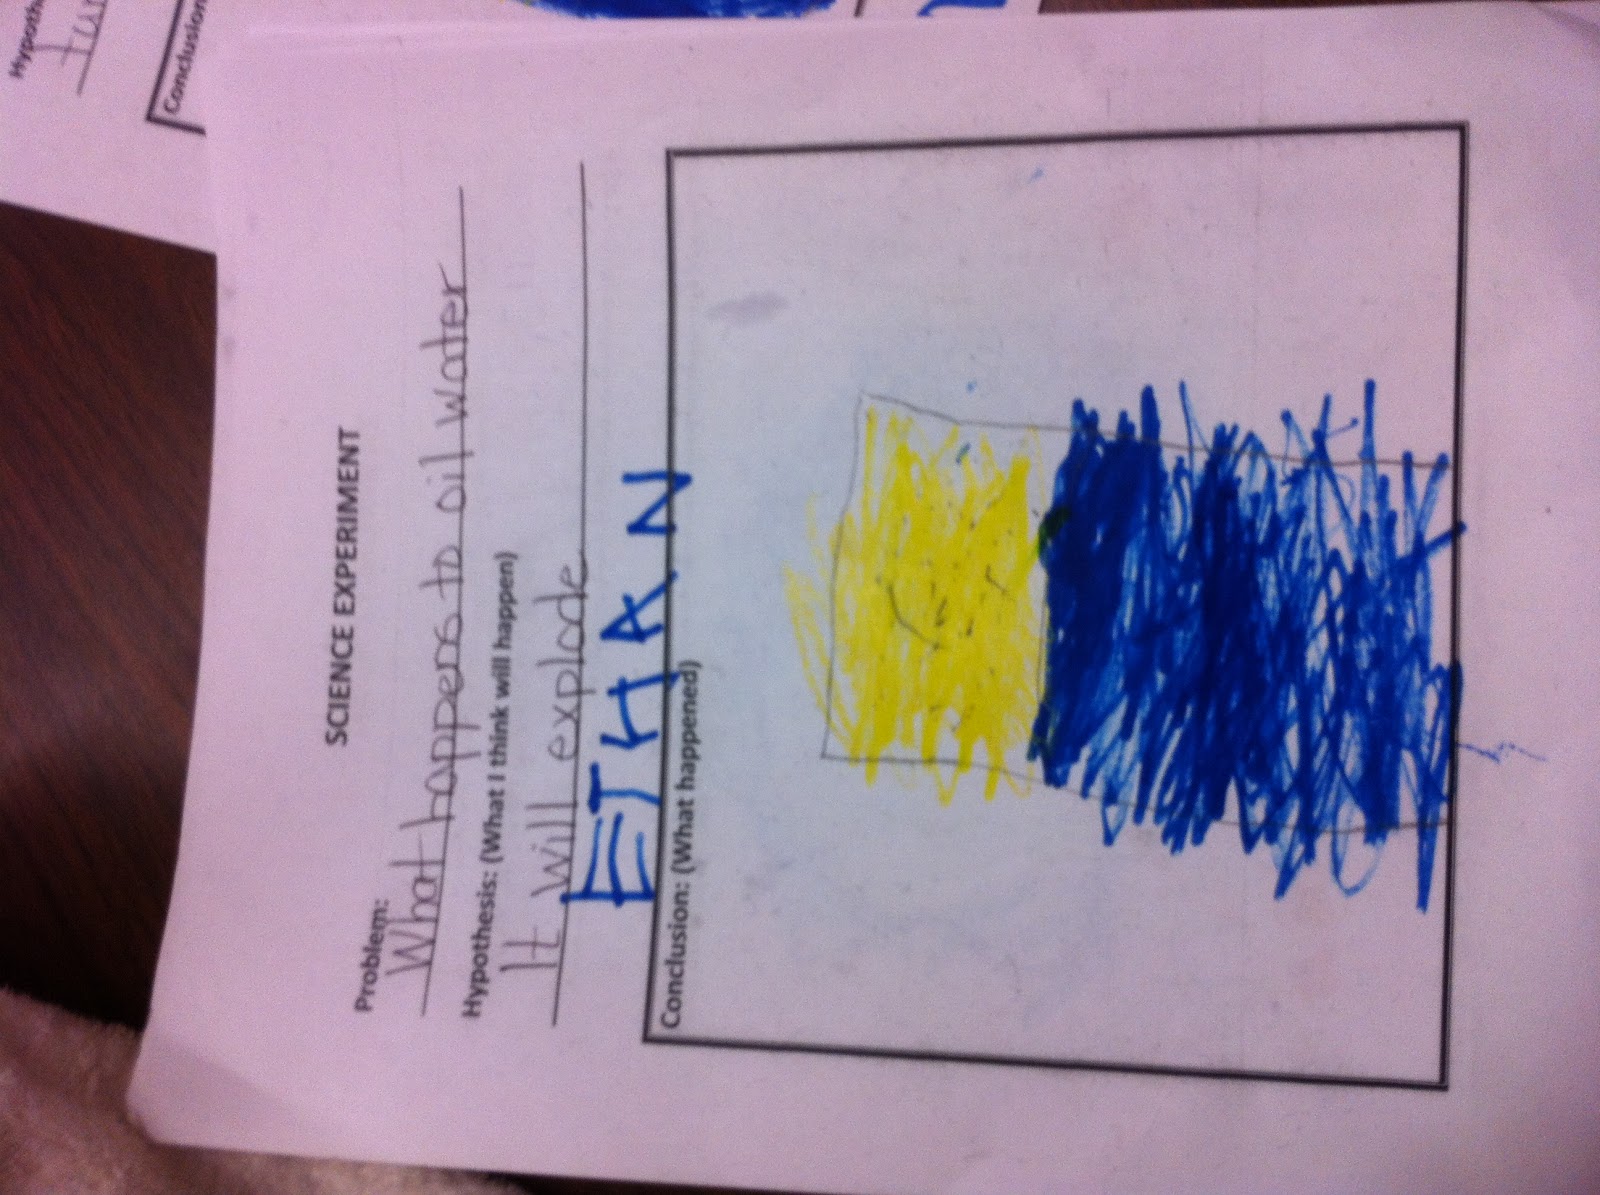
Today we asked the question: What happens when oil is added to water?
Our hypothesis were: 1. water will change colour 2. there will be an explosion ( this is what we really wanted to happen!!)
First we each got a cup of water and added a few drops of oil - then we watched like a scientist. We noticed that the oil sat on top of the water so we used a stir stick to mix . Next we watched like scientist again. The oil still sat on the top but in little bubbles. We noticed that no matter how much we stirred the oil would not mix with the water.
After we watched like a scientist we recorded our findings by drawing what we saw
We only had one small spill and it was a quick and easy clean up !
We discovered adding water made the soap slide better
Making a ramp - the steeper the ramp the faster the soap went
Teamwork made the job easier and more fun
Using little blocks and big blocks we could make lots of different ramps
Sometimes we lost control of the soap
We made some ramps with plastic
We also had fun racing the soap down the ramp
We had a lot of fun playing with soap. We discovered that soap can slide down the plastic when it is dry but it slides really fast when it is wet. On the ramps we made with blocks the soap only slides when wet. We also found out we could slide the soap around our tables when the table was wet. It was a lot of fun to make discoveries through play.
Note - The classroom smelled like soap for many days!
Jolly Phonics is a fun and child centred approach to teaching literacy through synthetic phonics. With actions for each of the 42 letter sounds, the multi-sensory method is very motivating for children and teachers, who can see their students achieve. The letter sounds are split into seven groups as shown below.
Letter Sound Order
The sounds are taught in a specific order (not alphabetically). This enables children to begin building words as early as possible.
How does Jolly Phonics work?
Using a synthetic phonics approach, Jolly Phonics teaches children the five key skills for reading and writing. Complemented by Jolly Readers and Jolly Grammar, it provides a thorough foundation for teaching literacy over three years in school.
1.Learning the letter sounds
Children are taught the 42 main letter sounds. This includes alphabet sounds as well as digraphs such as sh, th, ai and ue.
2.Learning letter formation
Using different multi-sensory methods, children learn how to form and write the letters.
3.Blending
Children are taught how to blend the sounds together to read and write new words.
4.Identifying the sounds in words (Segmenting)
Listening for the sounds in words gives children the best start for improving spelling.
5.Tricky words
Tricky words have irregular spellings and children learn these separately.


